A tile project, whether for a kitchen backsplash, a luxurious bathroom, or an outdoor entertainment area, is more than just picking a color or pattern. Tile project planning requires thoughtful strategy, expert guidance, and seamless collaboration between homeowners, designers, and contractors.
At Med Tile, we specialize in creating cohesive tile layouts and premium material selections that ensure your space looks stunning and functions perfectly for years to come.
In this in-depth guide, we’ll cover the complete planning process—from your first consultation at our Fairfield showroom to coordinating with contractors and maintaining your finished project.
Why planning is crucial for a successful tile project
The difference between a DIY disaster and a designer-quality tile installation often comes down to planning. Without a clear design vision, layout drawings, or an understanding of material requirements, homeowners risk:
- Costly mistakes, such as ordering the wrong quantities or mismatched grout colors.
- Delays, caused by miscommunication with contractors.
- Poor design flow, where tile patterns clash with cabinetry, countertops, or flooring.
- Wasted materials and budget overruns due to inaccurate measurements or last-minute changes.
- Missed design opportunities by not leveraging the expertise of professional designers to create a cohesive and stylish look.
By working with Med Tile’s in-house designers, you get professional-grade layout plans, tile specifications, and guidance on coordinating colors, textures, and patterns. We help you avoid expensive rework while achieving a look that elevates your home’s style.
Step 1: Begin with a tile design consultation
The first step in any successful tile project planning is understanding your vision and needs. At Med Tile, our designer-led consultations go beyond just picking tiles off a shelf. Here’s what you can expect:
- One-on-one attention: Our designers listen to your preferences, lifestyle, and budget goals.
- Visual brainstorming: We explore color palettes, materials, and layouts that reflect your personality.
- Digital layouts & sketches: We create preliminary drawings and renderings that show how the tiles will look in your actual space.
- Hands-on showroom exploration: We guide you through our curated tile displays, letting you see and feel the textures, finishes, and colors in real lighting.
- Expert design advice: We provide recommendations on style combinations, trending patterns, and functional considerations for high-use spaces.
Pro Tip: Bring inspiration images from Pinterest, Instagram, or design magazines to your consultation. This helps our team translate your ideas into a curated tile selection.
Step 2: Choosing the right tiles for your space
Selecting tiles is about more than aesthetics. It’s about finding durable materials that complement your home’s architecture and design style. At Med Tile, we offer one of the Northeast’s most curated tile collections, including:
- Artisan Zellige tiles for a handcrafted, Moroccan-inspired look.
- Water-jet mosaics for intricate, custom patterns.
- Natural stone like marble, travertine, and quartzite.
- Porcelain and ceramic options for durability and easy maintenance.
Sample questions to ask during tile selection:
- Which tiles work best for high-moisture areas like showers?
- Will the chosen tile finish (matte vs. glossy) affect maintenance?
- How can different tile sizes (e.g., large-format vs. small mosaic) change the feel of a room?
- What level of slip resistance is needed for flooring in wet or high-traffic areas?
- Are the selected tiles suitable for both indoor and outdoor applications?
- How will grout color and width impact the overall design and maintenance?
Our designers help you navigate these choices, ensuring your selections align with both design goals and practical considerations.

Step 3: Creating a layout plan that works
A professional tile layout plan is essential for achieving a polished, cohesive look. Our designers prepare layout drawings and elevation views that:
- Define grout line placement for clean symmetry.
- Highlight feature areas, such as niches, backsplashes, and accent walls.
- Optimize cuts and transitions for a seamless finish.
Examples of Med Tile layout success:
One of our featured projects, the Bay Head Beauty kitchen backsplash, showcases how strategic tile layout can create an elegant focal point. By combining custom mosaic patterns with neutral cabinetry, the design team created a timeless and cohesive aesthetic that elevates the entire kitchen.
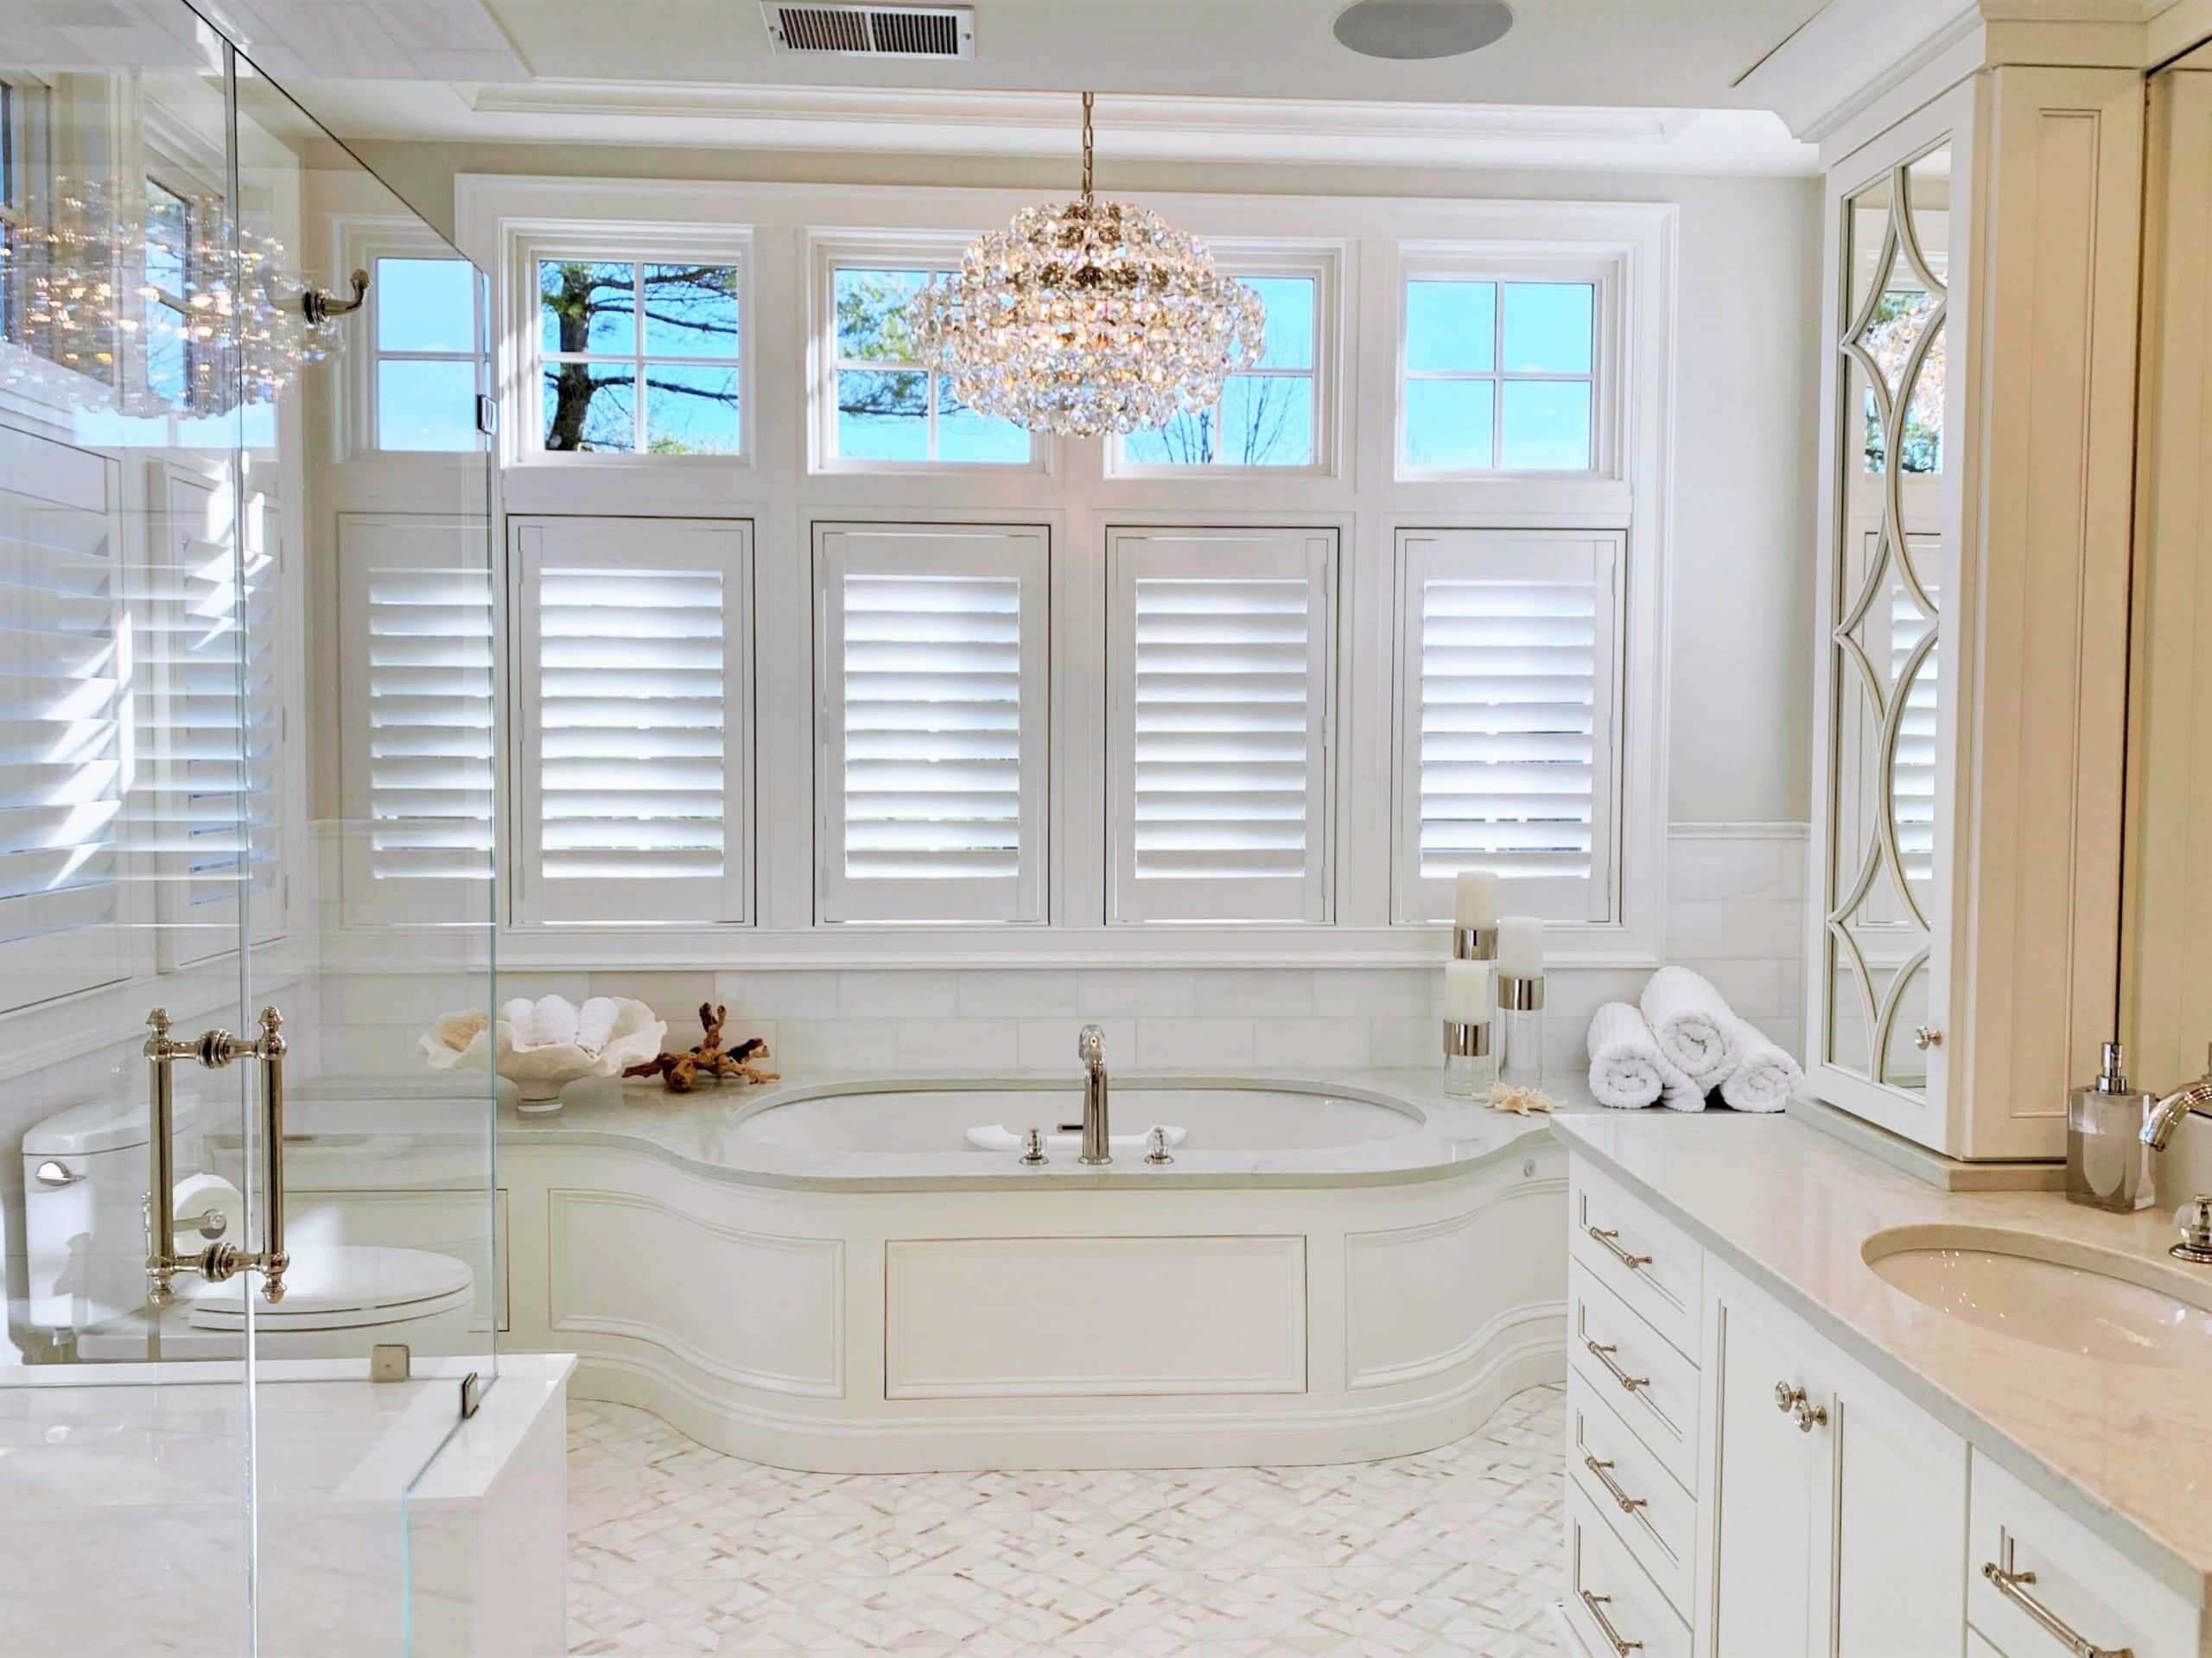
Another stunning example is the West Caldwell Bathroom Renovation. This project highlights how thoughtfully placed marble-look porcelain tiles, paired with modern fixtures and accent walls, can transform a bathroom into a spa-like retreat.
Step 4: Coordinating with contractors
Med Tile doesn’t handle installations directly, but we work closely with trusted local contractors to ensure your project is install-ready. We provide:
- Detailed material specifications for easy communication.
- Installation-ready drawings that eliminate guesswork.
- Recommendations for certified installers who understand premium tile products.
Contractor coordination tips:
- Share layout plans and order quantities early to avoid delays.
- Confirm that your contractor is comfortable with specialty tiles (e.g., Zellige or natural stone).
- Schedule a pre-installation meeting with your designer and contractor to review details.
Step 5: Managing budgets and timelines
Tile projects can vary widely in cost, depending on materials and labor. Med Tile helps you manage your budget by:
- Offering tiered tile options that fit your price range.
- Calculating accurate material quantities to reduce over-purchasing.
- Helping prioritize focal areas where premium tile has the most visual impact.
Budget Tip: Investing in high-quality tiles for feature walls or backsplashes can dramatically elevate your design without breaking the bank.
Step 6: Final touches and aftercare
Once your tiles are installed, proper aftercare is key to preserving their beauty. Med Tile recommends products for:
- Sealing natural stone tiles to protect against staining.
- Cleaning Zellige tiles with pH-neutral solutions.
- Maintaining grout lines to prevent discoloration.
We also offer ongoing support for customers—whether you need cleaning tips or advice on matching future renovations.
Common mistakes to avoid in tile projects
Even with the best intentions, some homeowners run into preventable pitfalls. Here are a few to watch out for:
- Skipping layout planning: This can result in awkward grout lines or unbalanced designs.
- Ordering too few tiles: Always account for 10–15% overage for cuts and breakage.
- Choosing style over function: Some tiles, like glossy marble, may require more maintenance than expected.
- Ignoring lighting: Tiles look different under natural and artificial lighting.
Why Med Tile is your ideal partner for tile projects
Med Tile isn’t just a tile showroom—it’s a design resource for homeowners, architects, and builders. We combine:
- 30+ years of design expertise.
- An exclusive inventory of high-end, hard-to-find tiles.
- A tactile showroom experience where you can see, touch, and feel every option.
Our team collaborates with your contractors to make sure your vision is executed flawlessly, from concept to installation.
Explore more design inspiration:
- Tile Designers Bring Your Tile Dreams to Life
- Why Visiting Our Tile Showroom Is Essential
- 2025 Tile Trends: The Colors, Shapes, and Textures Defining the Year
Ready to start your tile project?
The first step to a beautiful tile design is scheduling a consultation with our expert team. Whether you’re upgrading a single bathroom or renovating an entire home, we’ll help you create a space that’s functional, stylish, and uniquely yours.
Visit our Fairfield, NJ showroom or contact Med Tile for a tile consultation to get started.
