
Historic homes are part of what makes North Jersey special. From Montclair’s Queen Anne beauties and Maplewood’s Craftsman bungalows to Summit’s stately Colonials and Tudor Revivals, each style tells a story through materials, proportions, and hand‑worked details.
Tile plays a quiet but crucial role in honoring that character while giving kitchens, baths, foyers, and fireplaces the performance and polish today’s households expect.
This guide is a designer‑led, local perspective from Med Tile’s Fairfield showroom on how to choose tile that looks authentic, wears well, and feels at home in your period architecture.
How to Think About Tile in a Historic Home
Selecting tile for an older home begins with respect for the architecture. This short framework will keep your decisions on‑style and on‑budget.
- Read the house first. Identify the dominant style cues (roof pitch, window muntins, trim profiles, stair newel shapes). These details influence tile scale, pattern, and edge treatments.
- Match scale to space. Older rooms often have tighter footprints. Use formats that fit the proportions—smaller patterns read refined; oversized slabs can overwhelm unless used surgically.
- Honor materials, modernize performance. Natural stone, handmade looks, and traditional mosaics feel authentic; combine with modern porcelains where durability is paramount.
- Let grout do some work. Joint width and color shift a tile from period‑correct to contemporary. Narrow, close‑toned joints read formal; slightly wider joints and softer contrast feel historic.
- Design for maintenance. Choose honed or matte finishes where water and grit are common; plan sealing and cleaning that fit your lifestyle.
A Quick Style Primer (North Jersey’s Most Common Historic Homes)
Every style below includes a one‑sentence overview and then practical guidance you can apply immediately.
Colonial (Georgian & Colonial Revival)
Colonials emphasize symmetry, restrained ornament, and strong axial sightlines. Tile should feel orderly, tailored, and timeless.
- Materials that fit: Honed marble (Carrara, Calacatta), limestone looks, classic porcelains, handmade‑look ceramic field tile.
- Layouts that belong: Subway in running bond, basketweave, hex mosaics, checkerboard foyers (black/white or dark/cream).
- Colors & finishes: Soft whites, warm creams, gentle grays; honed or tumbled for subtle sheen.
- Grout & edges: Tight joints and pencil liners; light gray grout to outline patterns without harsh contrast.
Victorian (Italianate & Queen Anne)
Victorians invite layered pattern, color, and romance. Tile can be expressive while staying coherent.
- Materials that fit: Encaustic‑look porcelains, patterned ceramics, marble mosaics with floral/scroll motifs, decorative borders.
- Layouts that belong: Framed “rug” inlays in foyers, wainscot panels in baths, feature backsplash panels in kitchens.
- Colors & finishes: Sage, oxblood, deep navy, cream, and charcoal; mix matte and satin sheens.
- Grout & edges: Slightly wider joints suit ornate patterns; use chair‑rail trims and liners to frame fields.
Greek Revival
Greek Revival interiors are gracious and calm with classical proportion. Tile should feel formal yet serene.
- Materials that fit: Honed marbles (Statuario, Carrara), fine‑grain limestones, straight‑edge porcelain slabs.
- Layouts that belong: Large‑format rectangles, straight lays, centered patterns aligned with doorways and mantles.
- Colors & finishes: Chalky whites and soft gray veining; honed for elegance without glare.
- Grout & edges: Minimal contrast grout; crisp edges or metal profiles where needed to keep lines disciplined.
Tudor Revival
Tudors love texture, depth, and storybook charm. Tile should echo timber, plaster, and leaded glass without feeling heavy.
- Materials that fit: Handmade‑look ceramics, warm‑toned marbles, stone‑look porcelains, small‑scale mosaics.
- Layouts that belong: Diamond‑set floors, framed fireplace panels, lancet/lantern shapes for accents.
- Colors & finishes: Ivory, taupe, moss, charcoal; favor matte/honed to complement woodwork.
- Grout & edges: Softer contrast grout; eased edges or tumbled finishes to avoid sharp modern readings.
Craftsman (Arts & Crafts)
Craftsman homes celebrate natural materials and honest joinery. Tile should be tactile, human‑scaled, and grounded.
- Materials that fit: Tumbled marble, slate‑look porcelain, handmade‑look subway, mosaics with stone “dots.”
- Layouts that belong: Running bond, herringbone with modest plank sizes, framed borders that “picture” a floor field.
- Colors & finishes: Earth tones—warm whites, oatmeal, olive, umber; honed/matte textures.
- Grout & edges: Slightly wider joints feel period‑true; match grout warmth to wood tones.
Rooms that Matter Most in Historic Homes
Start where tile will do the most aesthetic and functional work. The short intros below set the intent for each room, followed by practical guidance.
Foyers & Entry Halls
Entrances set expectations and handle the most grit and moisture, so the right tile makes a disproportionate impact.
- Colonial/Greek Revival: Checkerboard marble or porcelain in scaled squares; centered on the stair or front door axis.
- Victorian: Patterned porcelain “rug” with a contrasting border; pair with simple wall field tile.
- Tudor/Craftsman: Textured porcelain or tumbled stone in running bond or herringbone for grip.
- Performance tips: Choose honed/matte finishes; add walk‑off rugs; consider darker grout to hide soil.
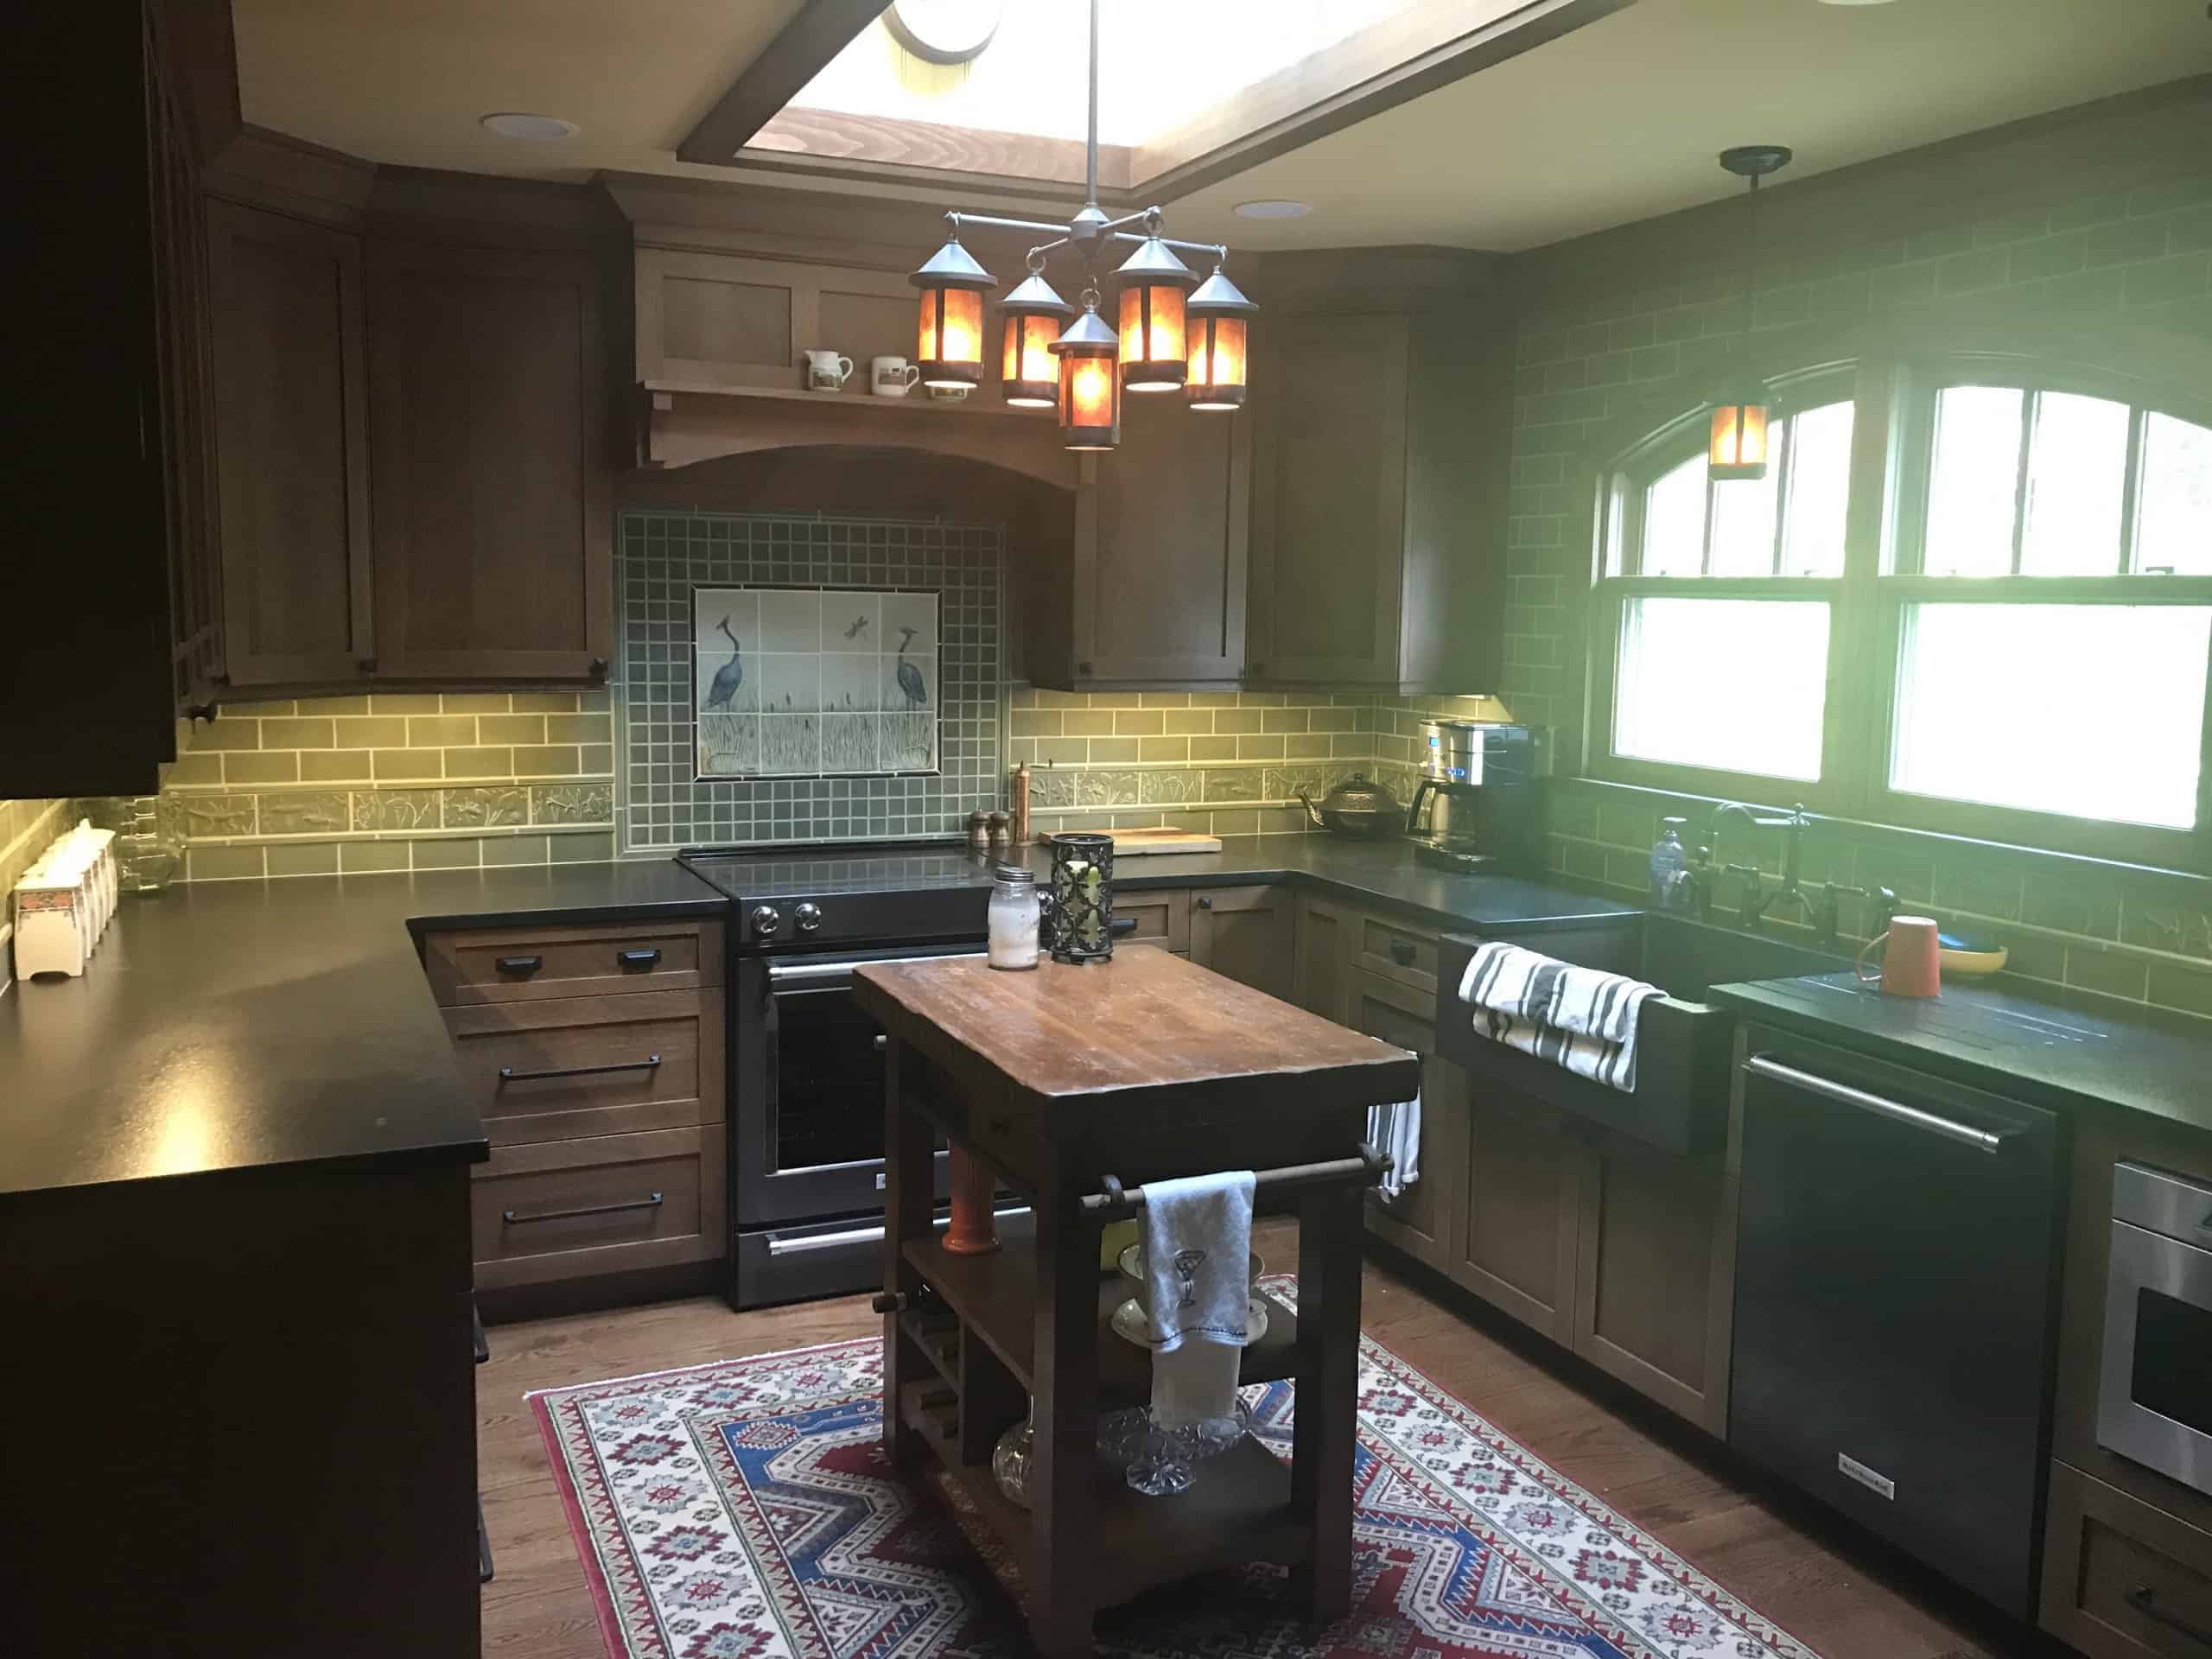
Kitchens
Historic kitchens benefit from tile choices that bring character while supporting everyday cooking and cleanup.
- Backsplashes: Elongated subway (Colonial, Craftsman), framed feature panel (Victorian, Tudor), vertically stacked field (Greek Revival formality).
- Floors: Honed marble in larger rectangles (Colonial/Greek Revival), patterned porcelain (Victorian), slate‑look porcelain (Tudor/Craftsman).
- Islands & peninsulas: Waterfall ends read modern; in historic homes, consider a marble top with tile paneling or wainscot details for balance.
- Grout & details: Light‑to‑mid gray hides wear; use pencil liners/chair rails to “finish” backsplashes elegantly.
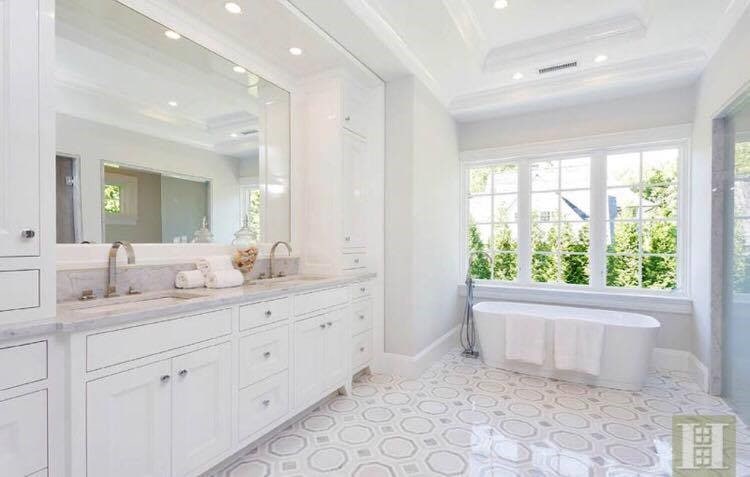
Bathrooms (Primary, Hall, and Powder)
Older baths often have smaller footprints; scale, light, and traction become the priorities.
- Floors: Basketweave, small hex, or penny rounds in honed finishes for grip and period feel.
- Walls: Subway to 42–54 inches with a cap/rail; or full‑height in showers with a framed niche.
- Powder rooms: Jewel‑box opportunity—patterned marble mosaic or encaustic‑look porcelain.
- Grout & edges: Slightly darker grout for easy care; pencil trims or metal profiles that echo existing metals.
Fireplaces & Surrounds
Fireplaces are natural focal points and a perfect canvas for historically appropriate tile details.
- Colonial/Greek Revival: Honed marble surround with a simple pencil liner; consider a hearth in matching stone.
- Victorian: Decorative panel over the firebox with framed borders; patterned tile on the hearth.
- Tudor/Craftsman: Textured ceramic field tiles in earthy hues; diamond‑set accents or lantern inserts.
- Technical note: Verify heat‑rated setting materials and code‑compliant clearances.
Mudrooms & Side Entries
These hardworking spaces deserve practical surfaces that still speak the home’s language.
- Material picks: Textured porcelain with historic colorways; tumbled stone if maintenance fits your routine.
- Layouts: Herringbone or running bond in modest sizes; frame with a contrasting border for a finished look.
- Care: Mats and boot trays reduce grit; use darker grout and quality sealers.
Finishes, Formats, and Grout—Small Choices, Big Impact
This section explains how finish, size, and grout selection protect a historic aesthetic while optimizing day‑to‑day performance.
- Finish selection: Favor honed/matte in high‑touch areas to mask etching and water spots; reserve polished for mantles and accent walls.
- Format strategy: Smaller tiles feel native to older floor plans; use larger rectangles only where wall heights and sightlines support them.
- Grout decisions: Joint width subtly dates the installation; close‑toned grout keeps patterns refined while forgiving daily wear.
Authentic Looks, Modern Materials (When to Use Porcelain)
Many homeowners want the authenticity of historic detailing with the durability of modern surfaces. Porcelain can be the perfect ally.
- Where porcelain excels: Heavy‑traffic kitchens, mudrooms, kids’ baths, rental units, and outdoor thresholds.
- How to blend: Use porcelain marble‑look or encaustic‑look tile for fields, and reserve real stone or handmade‑look ceramic for borders, niches, or feature panels.
- Reading authenticity: Focus on undertone, veining scale, and edge treatments; keep trims and grout consistent across materials.
Edge Profiles, Transitions, and Trim—Finishing Like a Pro
Historic interiors look “right” when edges and transitions are considered from the start. This quick checklist keeps the details tidy.
- Pencil liners, caps, and chair rails: Period‑true ways to terminate wall tile and frame panels.
- Metal profiles: When stone pencil isn’t practical, specify low‑profile metals in finishes that match existing hardware.
- Floor transitions: Plan height changes where old and new meet (tile to original wood); use reducers that respect thresholds.
- Inside/outside corners: Miter where appropriate; otherwise choose trims that soften edges without shouting “new.”
Preservation, Permits, and Practicalities (Local Considerations)
Many North Jersey towns have historic districts or advisory boards. This isn’t red tape—it’s an opportunity to plan a project that endures.
- Engage early: Bring preliminary tile concepts to your designer and contractor; align with local guidelines before ordering materials.
- Document intent: Elevations that show trim, borders, and transitions help committees understand scale and fit.
- Respect what’s original: Where possible, preserve intact, character‑defining elements (mantles, wainscot heights) and design your tile to complement them.
- Accessibility & updates: Use this moment to improve lighting, ventilation, and slip resistance without compromising style.
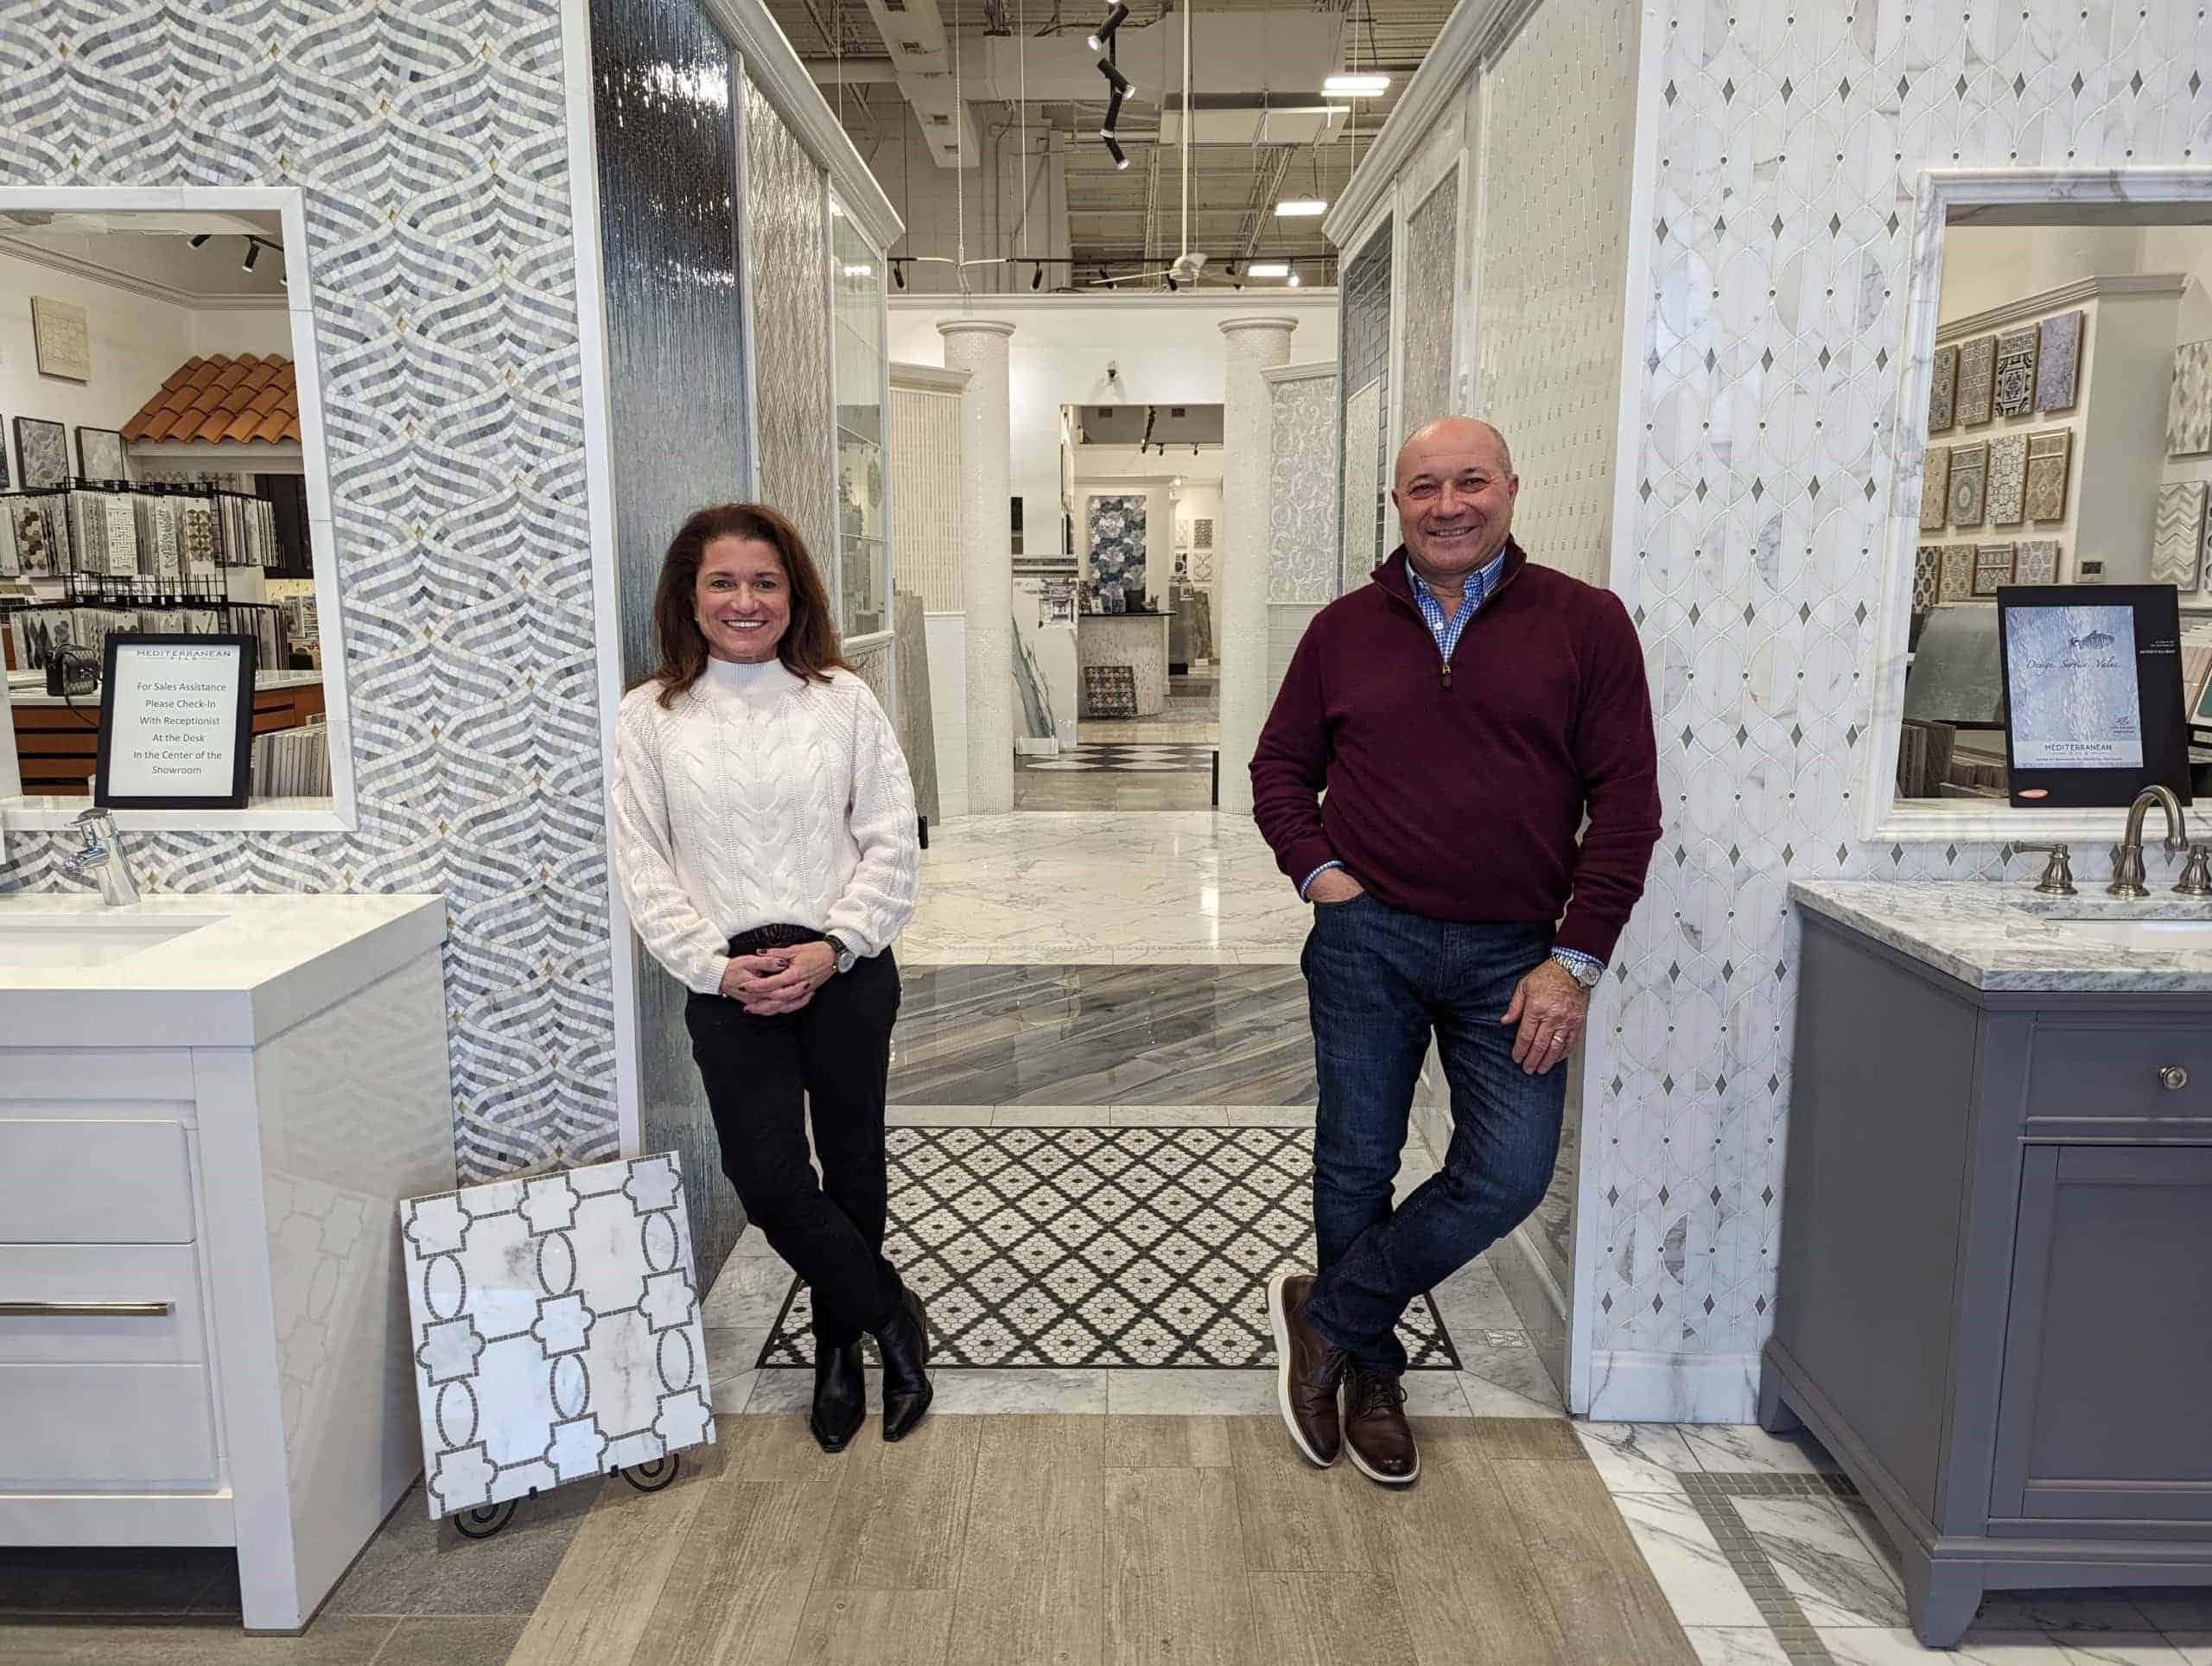
How We Work with Historic Homes at Med Tile (Fairfield)
Our showroom process is designed for older homes: collaborative, detail‑obsessed, and coordinated with the rest of your project team.
- Consultation: Bring room photos, measurements, and any trim or paint samples; we’ll read the architecture together.
- Palette building: We’ll curate field tile, feature tile, trims, and metals that match your home’s era and your lifestyle.
- Layout drawings: Elevations and cut maps ensure patterns land where your eye expects them and avoid narrow “slivers.”
- Installer coordination: We can share drawings and takeoffs with your contractor and recommend trusted installers.
- Aftercare: We’ll outline sealing, cleaning, and maintenance so your investment looks good long term.
FAQs for Historic Homes (Evergreen and Local)
- Which tile formats feel most authentic in a Colonial or Tudor? Smaller formats, basketweave and hex mosaics, running bond subway, and diamond‑set patterns read correctly in most period interiors.
- Can I mix porcelain with real marble in a historic home? Yes—blend carefully by matching undertones and using consistent trim and grout. Porcelain is great for durability; use real stone where the eye focuses.
- What grout color works best in older homes? Light‑to‑mid warm gray usually feels period‑appropriate and hides day‑to‑day wear.
- Are polished finishes wrong for historic houses? Not at all—use polished strategically on mantles or wainscot panels; choose honed in wet or high‑traffic zones.
- Do I need approvals to change tile? If you’re in a designated historic district, check with your local board. Early alignment avoids re‑work.
Plan Your Historic‑Friendly Tile at Our Fairfield Showroom
The quickest way to get this right is to see options in person with a designer who speaks both “tile” and “historic architecture.”
Visit Med Tile in Fairfield to touch materials, build a palette, and map layouts that belong in your specific home.
Serving Montclair, Maplewood, Summit, West Caldwell, Verona, Livingston, and neighboring North Jersey towns.
Book a consultation or stop by—we’ll help you design for today while honoring the past.
